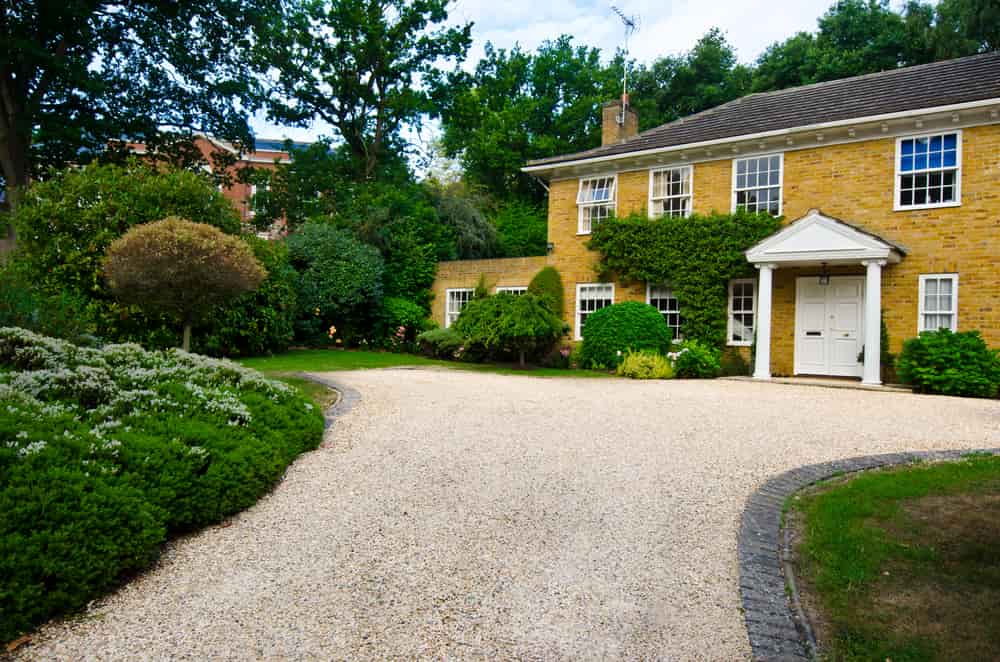
Home improvement projects like upgrading your old driveway can increase the look and the value of your home. Laying a gravel driveway is a fairly simple DIY home improvement project that will level up the look of your property.
Gravel driveways also have their benefits. They last a very long time with the proper care and maintenance and they look great!
If you’d like to take on this DIY project, read our guide below on how to lay a gravel driveway.
Tools & Materials You Need To Lay A Gravel Driveway
These are the materials you will need to complete this task from start to finish:
Aggregate for the sub-base
Weed membrane material (optional)
Gravel for the driveway surface
Decorative boulders for the border (optional)
These are the tools you will need:
Shovel
Wheelbarrow
Wacker Plate
Garden Rake
Heavy-duty work gloves and work boots
How Much Will It Cost To Lay A Gravel Driveway?
A gravel driveway is an affordable option that allows for easy repair and maintenance. But how much will it cost, and can you calculate this for yourself?
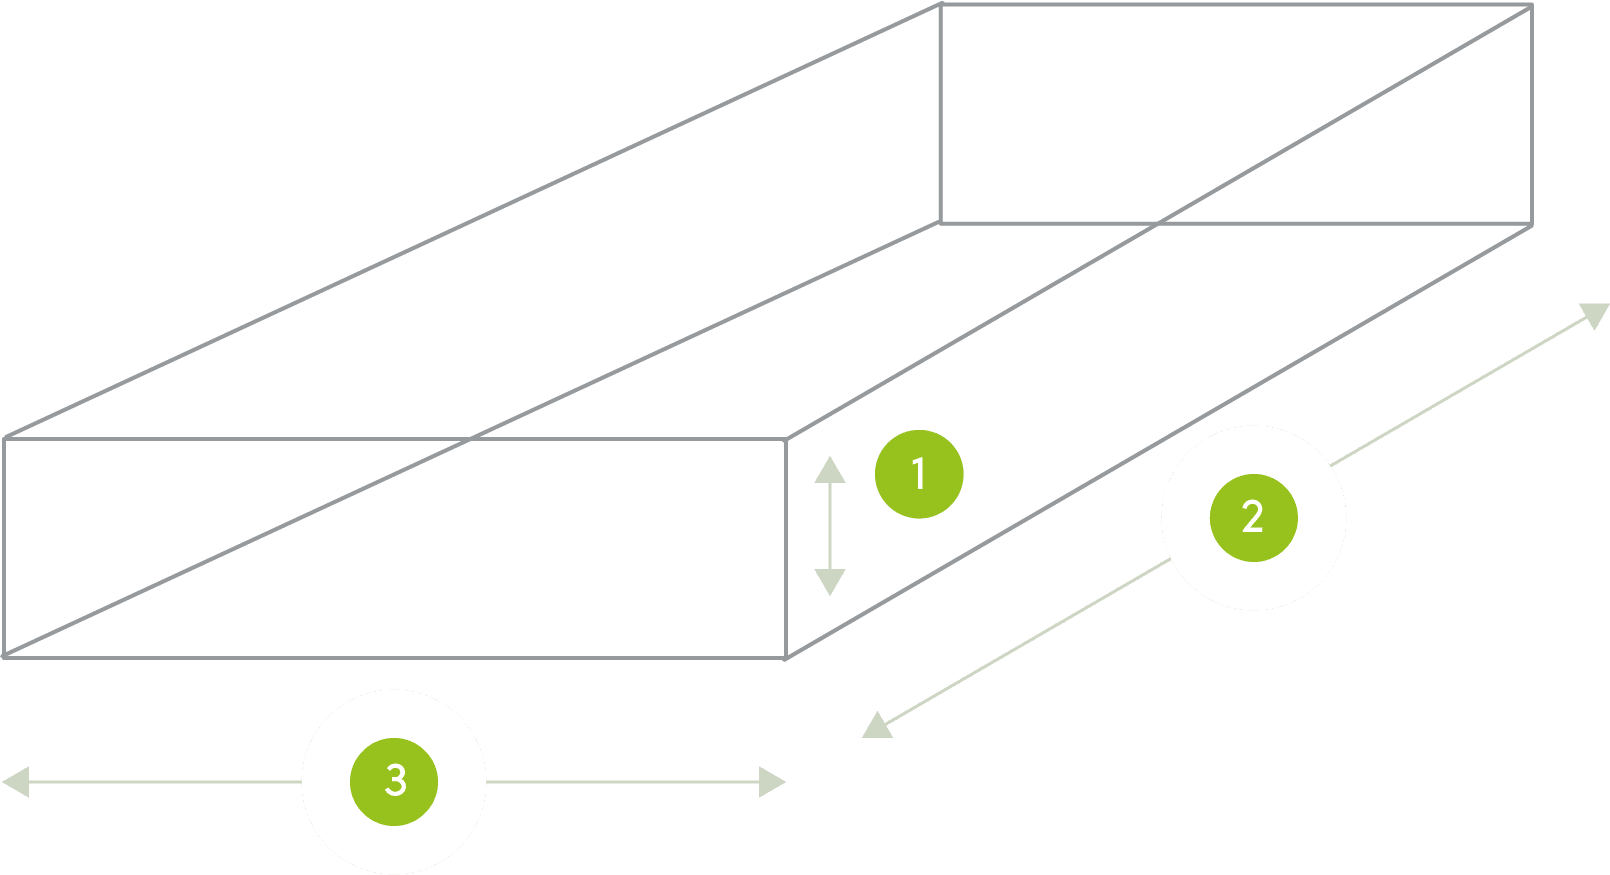
To calculate the cost of your driveway project, measure the length and width of the area, and multiply them to get a measurement in square metres.
The length covers the distance from your driveway gate at the curb to the side of your house. The average gravel driveway should be 3-4 metres wide.
You will be laying down two layers of aggregate, and each one should have a minimum depth of 50mm.
Take a look at our handy online gravel calculator. Simply add in your measurements there, and you will get an approximate figure for how many pre-pack or bulk bags you’ll need.
For example, at a depth of 50 mm for a layer of aggregate/gravel, you would need two of our bulk bags for 10 square metres. For 25 square metres, you’d need three bags. For 50 square metres, expect to need six bulk bags.
Here is a rough estimate of how much you can expect a DIY gravel driveway to cost depending on the gravel you choose:
10 square metres: £240 – £400
25 square metres: £360 – £600
50 square metres: £720 – £1200
If you opt to include a weed membrane layer, our weed control fabric comes to £19.99 for 10 square metres, £39.98 for 25 square metres, and £59.97 for 50 square metres.
How To Lay A Gravel Driveway: Five Steps
Ensure that you have all the materials and tools listed above, before proceeding with steps one through five. Wear work boots and gloves to protect your hands and feet while working with the wacker plate machine.
Step 1: Choose Your Gravel
Of course, the first step is to choose the gravel for your new driveway. You can get gravel in various colours and sizes.
A robust, angular and decorative aggregate, in a 14- or 20-mm chipping, is best suited for a driveway. For a smoother surface, go for the 14mm chipping – like our creamy-coloured Cornish Cream Gravel.
20mm gravel chipping, like our grey limestone gravel, will offer a more textured-looking driveway.
Don’t choose gravel finer than a 14mm chipping, as this can become embedded in tyre treads.
Step 2: Prepare The Base – 1.5 to 2.5 hours
You must remove any existing driveway base so that you have firm ground to lay your driveway on. This is where that shovel will be put to good use.
You will need to remove any turf, topsoil or debris and then dig out the foundation for your gravel driveway.
Allow enough depth to lay two aggregate layers of 50mm thickness, each so you’ll want a depth of about 10cm.
When digging away topsoil, ensure you do not hit any underground water pipes, gas lines, or other service pipes.
Make sure to flatten and compact the area once you’ve dug it out.
Step 3: Create A Sub-Base – 45 min to 1 hour
Create the lower level of your gravel driveway with a bulk fill and levelling material. Laying a sub-base layer will provide your gravel driveway with a stable foundation that can take the weight of vehicles.
Use the shovel to scoop up and deposit the aggregate. The wheelbarrow will make it easier to transport aggregate while you lay your sub-base.
Compact your sub-base material with a wacker plate machine. This is a piece of construction equipment with a vibrating metal base plate and an engine. It will help you achieve a solid, level surface. You can hire one from your nearest DIY or tool hire depot.
You may use our bulk bags of Crusher Run, compacted together, as your sub-base. This layer should have a depth of at least 50mm.
The base should preferably slope away from your house to assist with water run-off.
Step 4: Use A Weed Membrane (Optional) – 20 min
Lay a membrane layer to block weeds. This step is optional but will prevent weeds from sticking up through your top gravel layer.
We highly recommend this step as it helps water drain through your gravel in addition to preventing weed growth.
Our weed control fabric comes in packs of 2×10 m rolls of tightly-woven polypropylene. This heavy-duty weed membrane material is durable enough for a driveway. Simply cut the sheets where needed to fit your driveway and lay them over the compacted sublayer.
Step 5: Lay Your Gravel Layer – 45 min to 1 hour
Distribute your choice of gravel over the base layer (or weed membrane layer if you used one) and smooth it out. You’ll likely need the wheelbarrow or shovel here for moving and depositing the gravel onto your driveway.
The gravel layer should be about 50mm deep.
Smooth out the gravel layer with a rake so that it is even.
If you’ve chosen to add a decorative border with bigger rocks, then lay them neatly along the edge(s) of the gravel driveway.
Conclusion
Laying a gravel driveway doesn’t have to be complicated when you have the right materials. Not only is gravelling a driveway achievable without the services it is also comparably cheaper and less time-consuming as opposed to block paving, tarmacing or resin-bonded gravel.
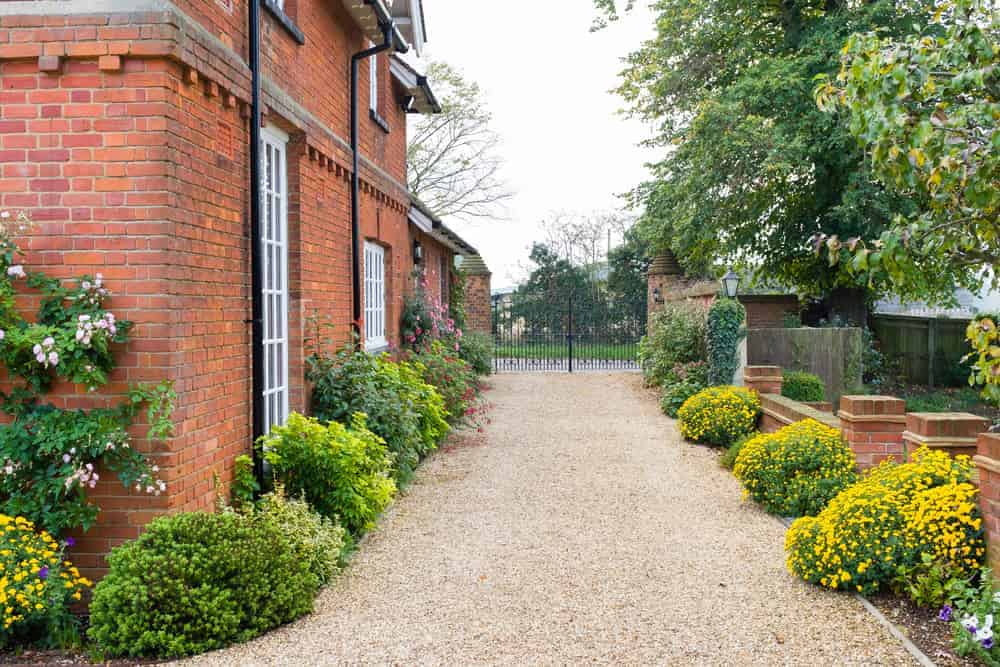
Transforming your front garden into a gravel-based landscape offers a blend of elegance and practicality, appealing to homeowners seeking a low-maintenance yet aesthetically pleasing outdoor space.
As we embrace the fresh start of a new year this January, it’s the perfect time for garden enthusiasts across the UK to start planning and dreaming about their outdoor spaces.
Comms could be better should ring 24hrs before delivery driver was excellent.
Very pleased with the bird house, excellent quality and arrived very quickly.Ty
Arrived on the day specified and the delivery driver was very helpful
Speedy delivery. Well packaged. Good quality product. Thank you
Online Gravel Calculator
1
2
3
Pre pack bags
0
Bulk bags required
0
*This calculator is only intended as a rough guide to help you approximate the likely volume of gravel, slate or other aggregates needed for your project.
This website uses cookies so that we can provide you with the best user experience possible. Cookie information is stored in your browser and performs functions such as recognising you when you return to our website and helping our team to understand which sections of the website you find most interesting and useful.
Strictly Necessary Cookies
Strictly Necessary Cookie should be enabled at all times so that we can save your preferences for cookie settings.
3rd Party Cookies
This website uses Google Analytics to collect anonymous information such as the number of visitors to the site, and the most popular pages.
Keeping this cookie enabled helps us to improve our website.
Please enable Strictly Necessary Cookies first so that we can save your preferences!